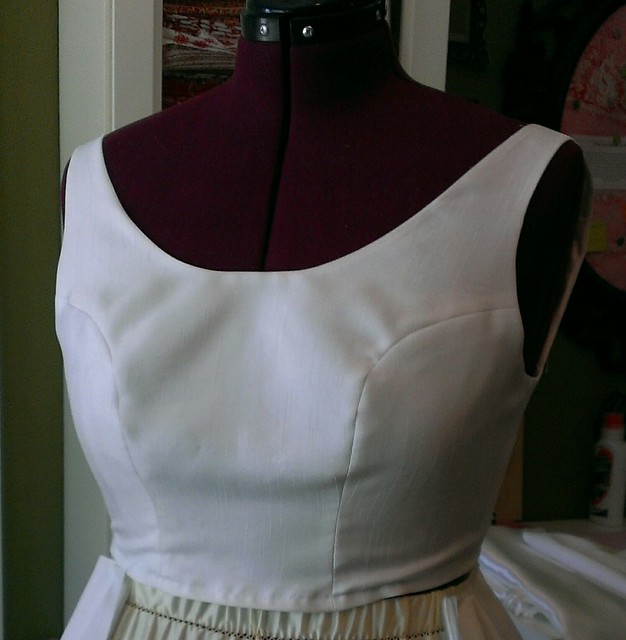
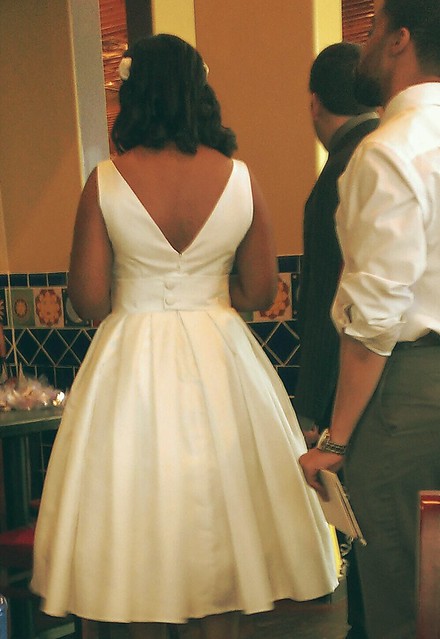
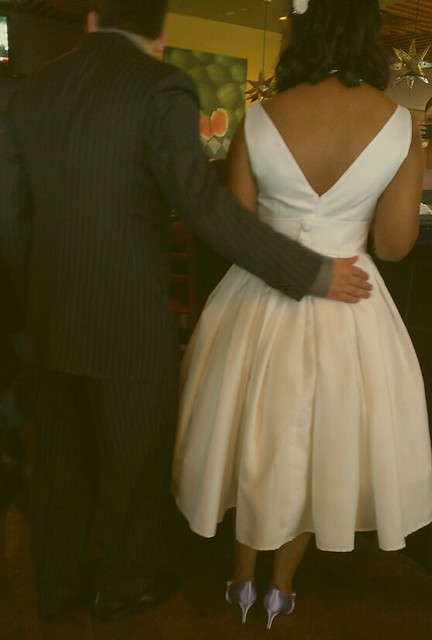
The dress she wanted had a simple, sleeveless, fitted bodice with a scoop neck and low V back. The full tea length skirt was made with box pleats, which I love and knew I could do for sure, it was just getting a lovely fit on the bodice that had me a bit nervous. I decided to find a pattern with a simple bodice that could be easily altered as a starting point. So we went to the fabric store together, flipped through the pattern books, and settled on Butterick 5748. In hindsight, that probably wasn't the best choice, but more on that later.
I sewed up a quick version of the bodice and altered the neckline to make a deeper scoop in front and to be a V in back. I pleated and pinned some broadcloth on my dress form just to get an idea of the whole look together.


At the first fitting, I was mainly looking to see if my neckline alterations were going to work, and they looked pretty good! But the rest of the fit was kind of a mess. The bodice needed to be shortened significantly, by a couple inches. Also, the fit was not as form fitting as I'd hoped. I now realize that the pattern we chose is not meant to be extremely form fitting, so that was probably not the best choice. But I adjusted the darts under the bust to be more diamond shaped in an attempt at getting a closer fit.
The next round of fitting seemed to go pretty well, I made two versions of the bodice with two different sets of alterations, and one seemed to do the trick. I figured I was ready now to make it with the real fabric!
So I made up the bodice in the fabric itself, and it looked great on my dress form, but I was a bit disheartened to see it did not look so great on my bride. The darts were not very flattering at all and seemed much more apparent in this fabric than the toiles I'd made up.

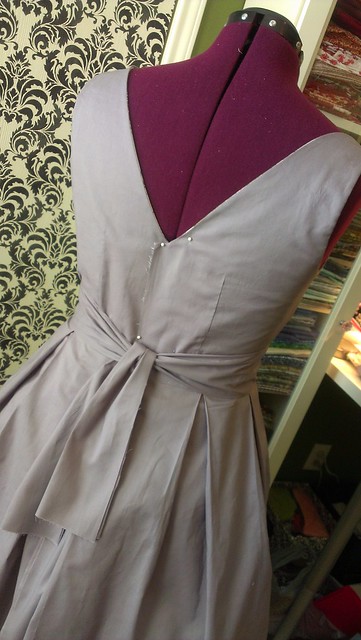
I did some research, and realized I would likely be having much better luck with princess seams than with darts. So I found a couple tutorials on converting darts to princess seams, and went at it. I worked on it late into the evening, and had Robyn come back the next day hoping this would do the trick. I was amazed at the difference it made, the fit was so much better, exactly what we were looking for! (Princess seams weren't pressed yet in this pic!)
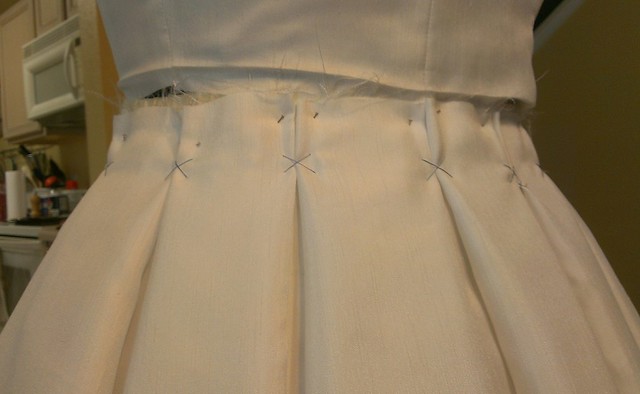
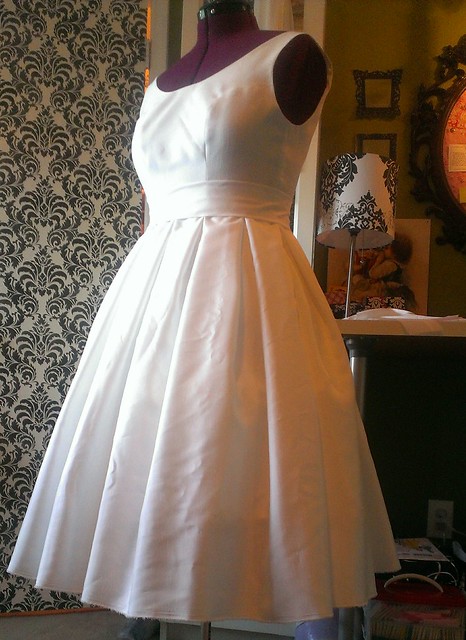
Once I had the bodice done, I started working on the skirt. I must have re-pleated the skirt 4 or 5 times, trying to get the pleats just right. Robyn left her petticoat with me so I could make sure the skirt fell nicely over it. I pinned the the pleats on my dress form, and then hand stitched them together with cross stitches once I was satisfied to make it easier to sew to the bodice.
Finally, my bodice and skirt were attached and looking very much like I'd hoped! It was all pretty exciting. I whip stitched the lining to the skirt, trying my best to make it look as pretty as possible on the inside.


I inserted an invisible zipper once I measured several times to make sure the fit was good, and then I hemmed it with a very small hem after deciding on the exact length for her.
The last part of the dress was making a wide belt that closed with two fabric covered buttons in the back. My first attempt fit well, but the seam was slightly visible as a bump in the middle. The second attempt ended with a strange wrinkling across the belt when it was pulled. I had cut the fabric and the interfacing on the bias, same as the first time, but for some reason something went wrong! So I made a 3rd belt, which was just right, except for the buttons needing to be repositioned after somehow not measuring carefully enough and making the belt a tad too loose. Finally, after many hours of back and forth to my place and her place, about 3 days before the wedding (cutting it close much?!?!?!) everything was completely finished.
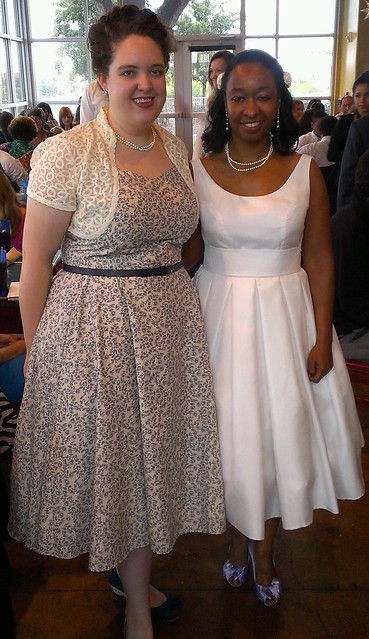
The bride looked beautiful on her wedding day, and I was so pleased that she was pleased!
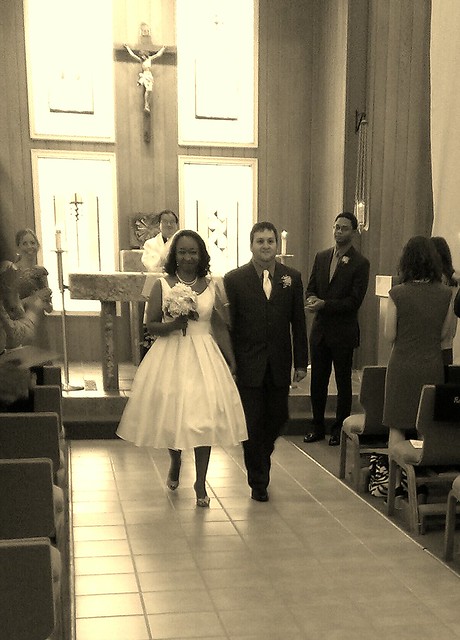

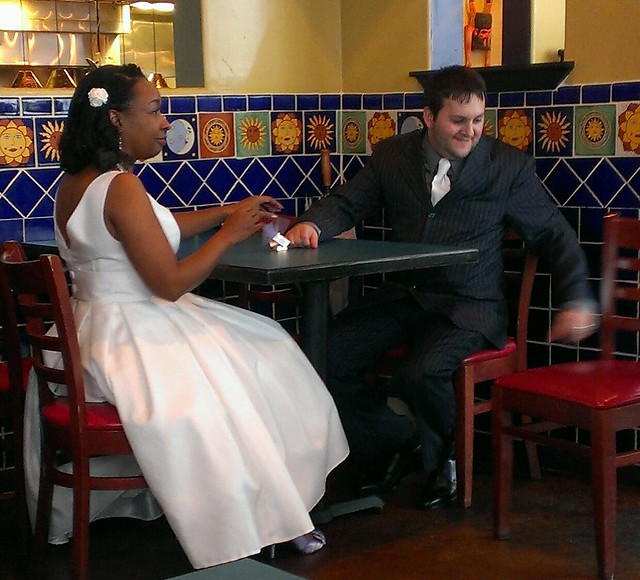
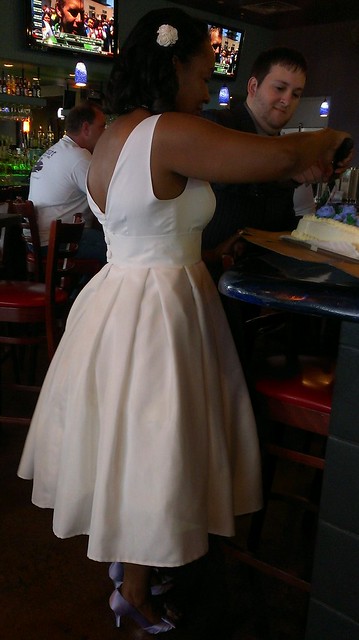
Oh, did I mention there were pockets? They came in handy for those inevitable tissues needed for happy tears. :-)
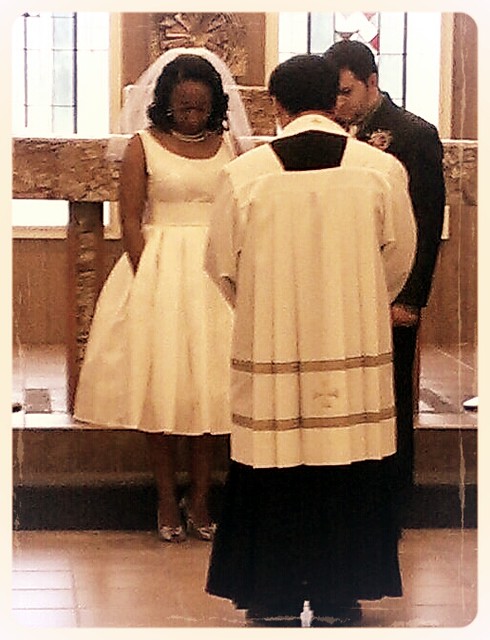
I also made the groom's tie using this tutorial, which was a first for me as well.

I learned a lot through this whole process, especially about fitting, and I'm thankful to my friend for having faith in my abilities and trusting me with such an important garment. It was an honor to create!