Wednesday, September 30, 2015

Chocolate Piping and Buttons - Butterick 6018


Don't you love learning something new? This dress introduced me into the world of piping! (Well...I already play with a bagpipe band which is what I usually mean by piping, so this is a new kind of piping, lol.) This dress was made for a client, we chose Butterick 6018. I've always loved version B for the neckline!

We decided to go with a lovely light blue poplin, and accents of dark brown. I wanted something special to add a little more interest, and while browsing Pinterest I was drawn to vintage dresses with buttons all the way down the front! Since this dress already had decorative buttons on the bodice, I thought it would be fun to extend them all the way down the dress.


As I started sewing I felt like I just needed a little something else, and thought perhaps something to highlight the lovely neckline would be just the thing. I grabbed some piping while at the store, and read up a bit on tips for using it since it was my first time. I LOVED the results, as I mentioned on Instagram, it just frames the neck beautifully and ties in to the buttons perfectly.


I also added a full lining, and some netting for a bit of fullness.


The rest of the dress came together well, the pattern was straight forward, didn't have any problems with it!


Wednesday, September 9, 2015

Lime Toile Easter 2014 Dress

A couple years ago, I kept coming back to some pattern art I had pinned that had a sash sewn into the side seams, that angled a bit downwards in front and then wrapped around to the back. I loved the lines it created.


I decided that this was going to be my inspiration for my Easter dress that year! So I created a simple bodice using 
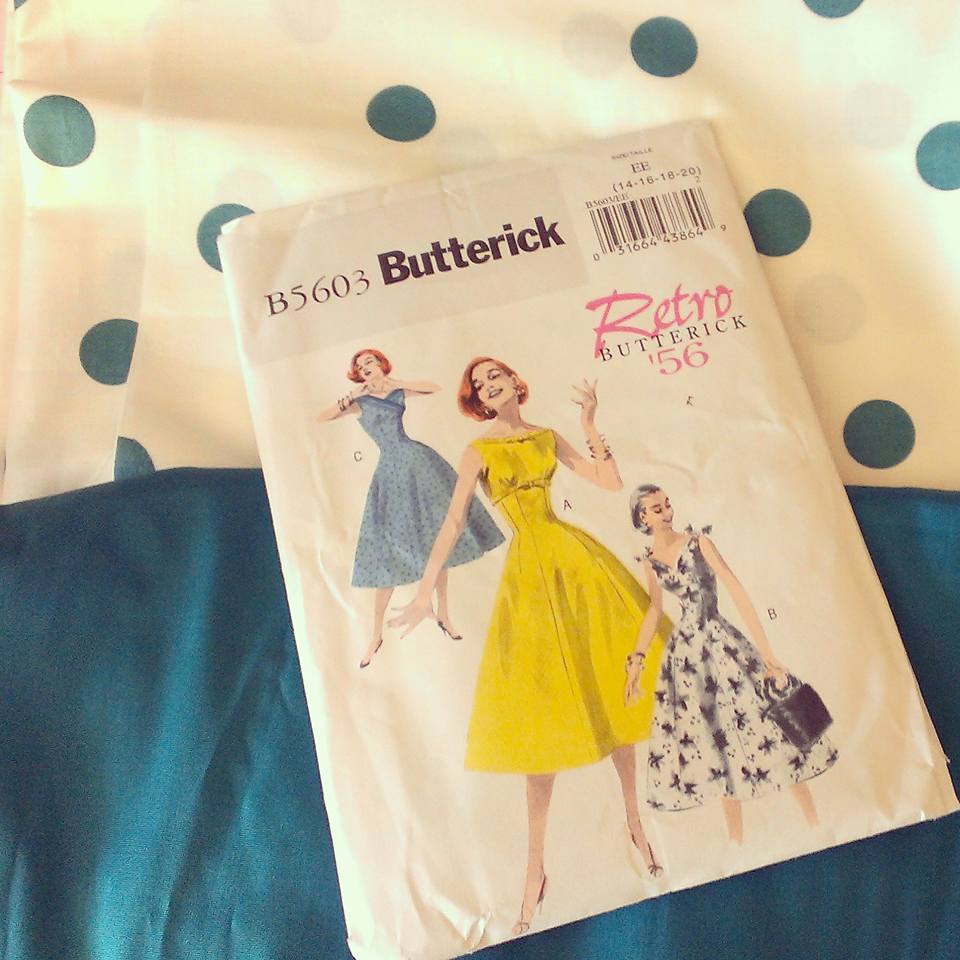
Butterick 5982, I wanted a V-neck and short sleeves so I used bodice C on the far right.

I altered the back to also have a V-neck. I wanted the sash to be a contrasting color, and decided to go with a gorgeous lime Asian toile fabric I had sitting around, and used a deep teal chiffon for the sash. I added a circle skirt (which ended up being too short due to lack of fabric, more on that in a bit!)

You'll notice I have no pictures of this dress I created, lol, because at the time I wasn't blogging much and somehow never took an Easter pic! I liked the result, but the sash ended up being a little fussy, and I wasn't sure I loved the contrasting color in the end.

I didn't wear the dress a single time after that Easter, and recently pulled it out and thought, you know, I bet it would be better without the sash. So I ripped open the side seam, removed the sash, and sewed it back up.

It was SO MUCH BETTER!!


As you can see, the full lining extends beyond the hem a few inches. This was my fix to the fact that I didn't have enough of the main fabric to get the length I wanted. But as often happens with creative solutions to problems, I ended up liking it even more with the peekaboo hem, it reminds me of a petticoat!


I think this was my most successful sleeve insertion to date, I often feel restricted by sleeves on dresses I've sewn and haven't quite figured out how to make it better, so I tend to go with sleeveless and plan on adding a cropped sweater! But as I wore this one I realized the sleeves are actually pretty comfortable on this one, makes me want to get out the pattern to use as a bodice again when I want sleeves.


 I added a waist stay (the color was a fun little wink to the sash which is no longer there, lol)....


...and pockets of course!


So strangely enough it ended up being rather different than I planned, and my entire inspiration for it is nowhere to be seen on the dress itself, but that's just how the creative process works sometimes, isn't it? 


Another surprise is, it ended up in my destash pile of dresses, which means I've listed it on Etsy along with my other efforts at making more room in my closet. I had a harder time with this one, as I ended up really liking its reincarnation sans sash, and my husband even commented on how much he liked it on me! But, it's still about an inch or two shorter than my favorite, most comfortable length, and at the time I made it I felt like more length on the peekaboo lining hem would have started to look odd. And seriously, even after a brutal go through my closet slashing my wardrobe in half, I still have TWENTY FIVE dresses, y'all! And you know I'm constantly making more. So...yeah. I figured I could stand to let it go. ;-)

But I learned a lot from making this dress, most notably that though sometimes you start with one source of inspiration, it won't necessarily be that specific thing that you end up loving about it, so it's good to be flexible and edit as you go. And that's useful knowledge I'll be keeping with me as I continue to learn, with or without this dress around!

Wednesday, September 2, 2015

Teal Polka Dot Tea Dress - Butterick 5603


A perfect opportunity arose to jump back into sewing after the trip with a tea party last weekend! It had a candy theme and the invitation said to wear a colorful dress, so I started looking through my stash, both for which pattern to use and which fabric.

I settled on Retro Butterick 5603, view C, and decided to use the last bit of teal polka dot fabric I had for the top part, and a great lightweight, slightly stretchy cotton blend for the skirt.


The skirt went together fairly quickly, the longest part was covering aaaallll those raw seams inside with rayon seam binding! But it's worth it, I just love a pretty inside! I added a pocket, of course, though it wasn't in the pattern.


The bodice ended up taking a bit longer than I thought it would, just because it was a bit brain-twisting to keep straight which part was the front, which was the back, which was the left, and which was the right, as they all looked so similar.


They also overlap, and some of the parts are sewn only to the outside and not the lining, some are left open..it was definitely a brain bender at times! But I got through it, and I think having done it once it would go a lot more quickly if I decided to do it again.


I did add about an inch to the very front of the bust, as I felt it was just a tad high on my larger bust. I hand picked my side zipper, attached it all, and finished off my hem the morning of the tea party. :-)


Then I went and had a fun time tasting teas and enjoying great conversation. It was only then that I came home and took pictures, so my apologies for all the wrinkles! This was after driving for quite a while in the car, which didn't help. I wore this cropped gray sweater with it, I love my cropped sweaters!!


I definitely like the pattern, especially the shape of the skirt and the way it falls!


I think this is the first skirt I've done with paneling like this? But there are several other patterns in my stash that use it, I'll certainly be interested in trying them out after the success of this one.


So I already met my Vintage Pledge goal of 5 projects, but I'll go ahead and add this to my list for the year. :-)